As part of a side project I’m working on, I had to create an augmented reality application for reading QR codes that contained images and displaying them on screen. I have some experience in Android development with Android Studio and Java but I wanted to use a cross platform framework that targets both iOS and Android as the app itself was only going to be used as a demo. There are a lot of platfoms avaiable but since I had no experience with any of them I tried my luck with react native; a cross platform framework created by Facebook based on javascript.
As soon as I skimmed through the official documentation, I created a new react native project using
expo init ARQRCodesand I was ready to analyze my requirements and start coding.
This app has 2 main features
- Use the camera to find and track QR codes
- Get the image URI and display it on top of the QR code
For tracking and scanning QR codes I used react-native-camera; a package that supports barcode scanning out of the box. Installing react native packages is quite easy and in this particular case I used
yarn add react-native-camera@git+https://git@github.com/react-native-community/react-native-camera.gitas I wanted to try out the master branch. After installing the package, enabling the camera was done by using the RNCamera tags and setting all the relevant information as seen below
import { RNCamera } from ‘react-native-camera’;
<RNCamera
  ref={ref => {
    this.camera = ref;
  }}
  style={styles.camera}
  type={RNCamera.Constants.Type.back}
  onGoogleVisionBarcodesDetected={ this.barcodeDetected }
  googleVisionBarcodeType={RNCamera.Constants.GoogleVisionBarcodeDetection.BarcodeType.QR_CODE}>
</RNCamera>
Some things to note are the constrains on the ‘googleVisionBarcodeType’, which in my case I only used QR codes and also, the ‘onGoogleVisionBarcodesDetected’ callback that gets invoked everytime a QR code will be identified.
Before moving forward I had to also update the ios/Podfile and run pod install as the development happend mostly on a Macbook
pod 'react-native-camera', path: '../node_modules/react-native-camera', subspecs: [
    'BarcodeDetectorMLKit'
]
Of course, accessing the camera needs permissions on both Android and iOS so, in order to make development easier I used react-native-permissions. Once installed with yarn, I had to update both my Podfile, Xcode and AndroidManifest.xml in order to ask for Camera permissions and add the following code in my App.js
request(Platform.OS === 'ios' ? PERMISSIONS.IOS.CAMERA : PERMISSIONS.ANDROID.CAMERA).then((result) => {
   setPermissionResult(result)
});
Note that RNCamera requires audio permissions by default so I had to disable this by adding this line in the RNCamera tag
captureAudio={false}Once I had a way to identify QR codes the next step was to get the URIs and display them on the screen. Dowloading and displaying an image was again very easily done using another great package called react-native-fast-image that also handles image chaching. A sample code for doing this
<FastImage
    style={styles.image}
    source={{
         uri: data,
         priority: FastImage.priority.normal,
    }}
    resizeMode={FastImage.resizeMode.contain}
/>
Once I had the building blocks ready the next step was to put everything together. First, I had to implement my callback function, barcodeDetected, in order to update and re-render the app. This is done by calling setState and passing the new barcode information
barcodeDetected = ({ barcodes }) => {
    this.setState({ barcodes })
};
Next, I used the barcode information in order to draw the images on the screen using the FastImage package. After running few tests, I was ready to try it on my phone with various QR codes that I generated online using one of the many free websites that offer this functionality. Hopefully having multiple QR codes will render the images without any problems.
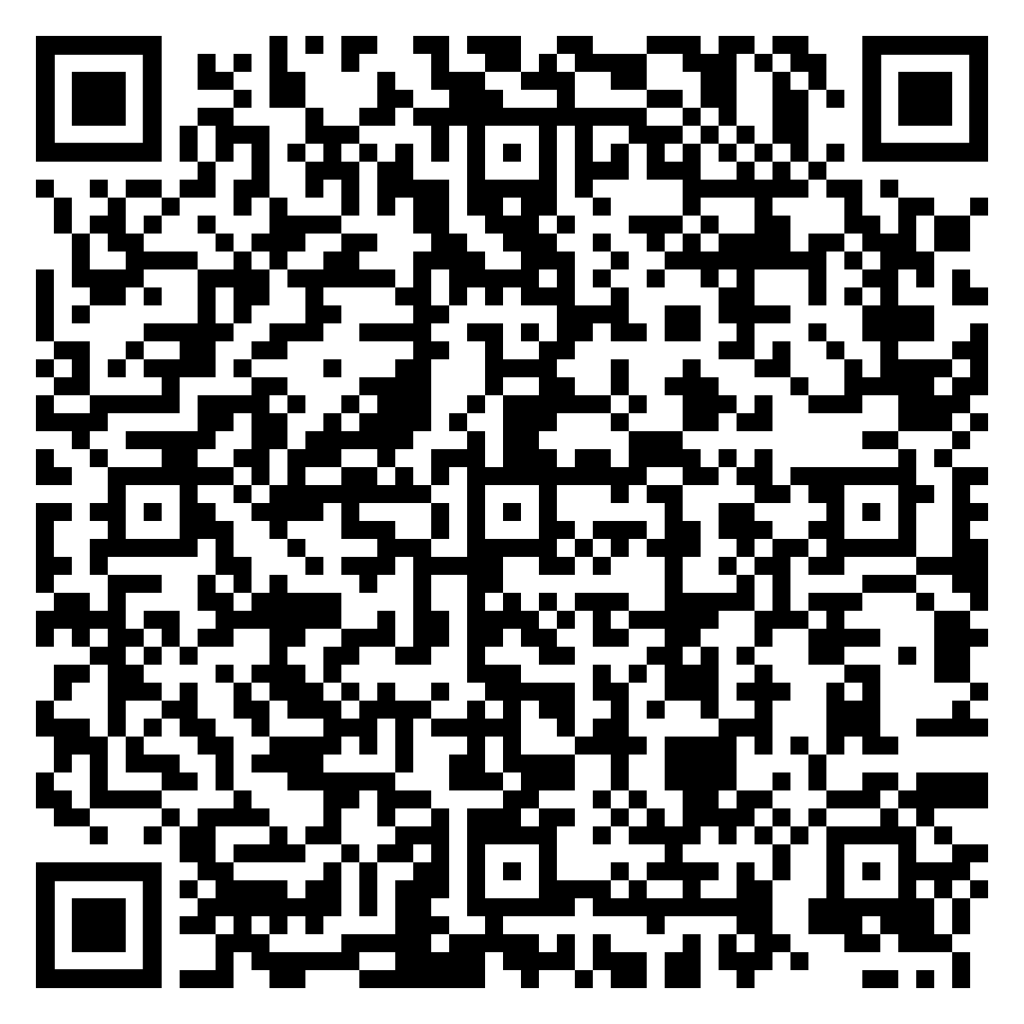
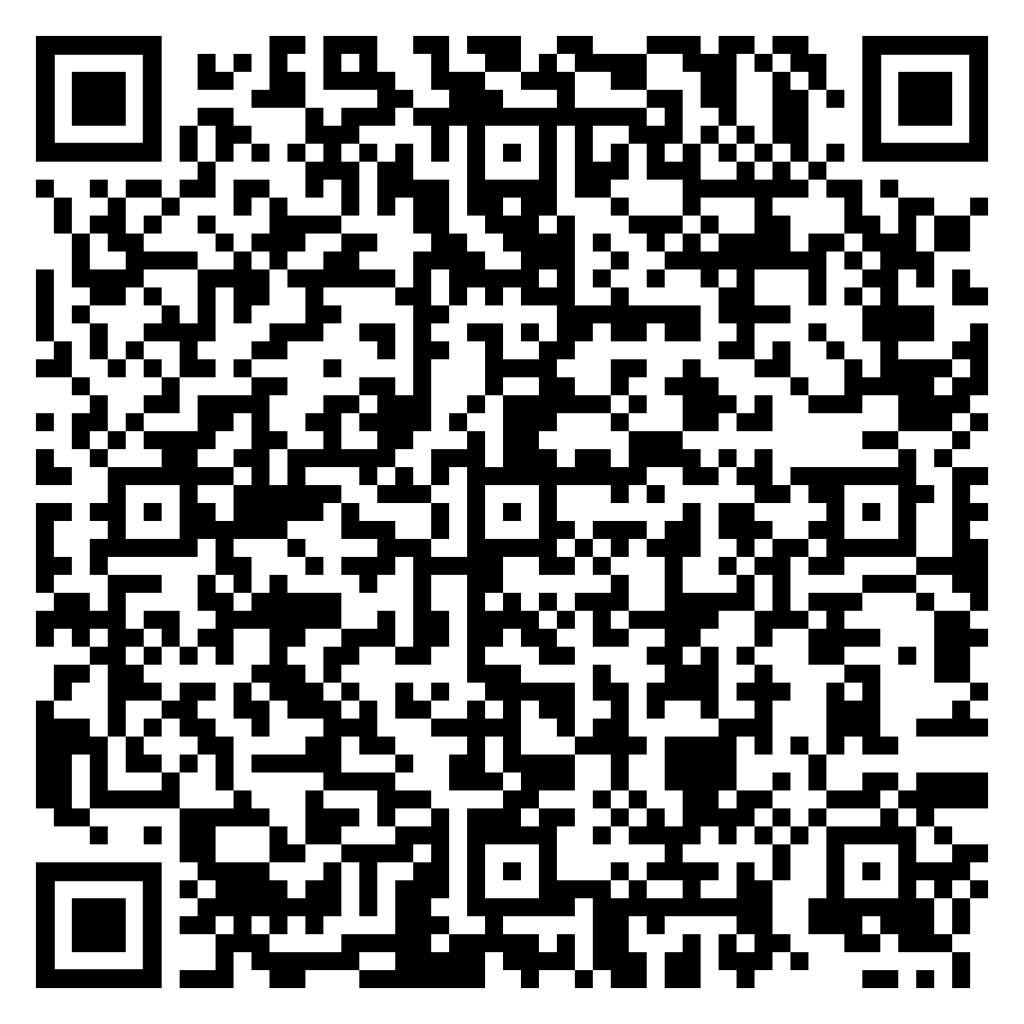
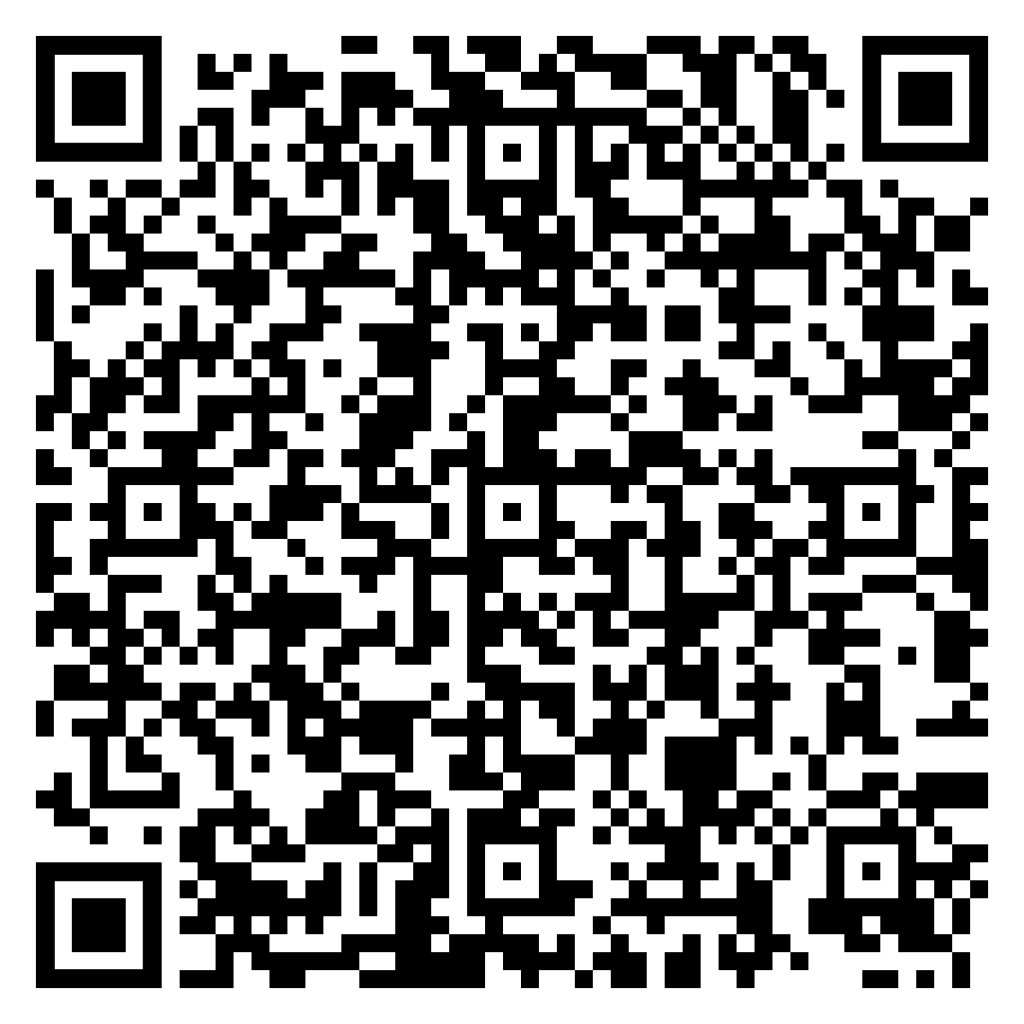
Here are the generated QR codes
 {: width=“250” }
 {: width=“250” }
 {: width=“250” }
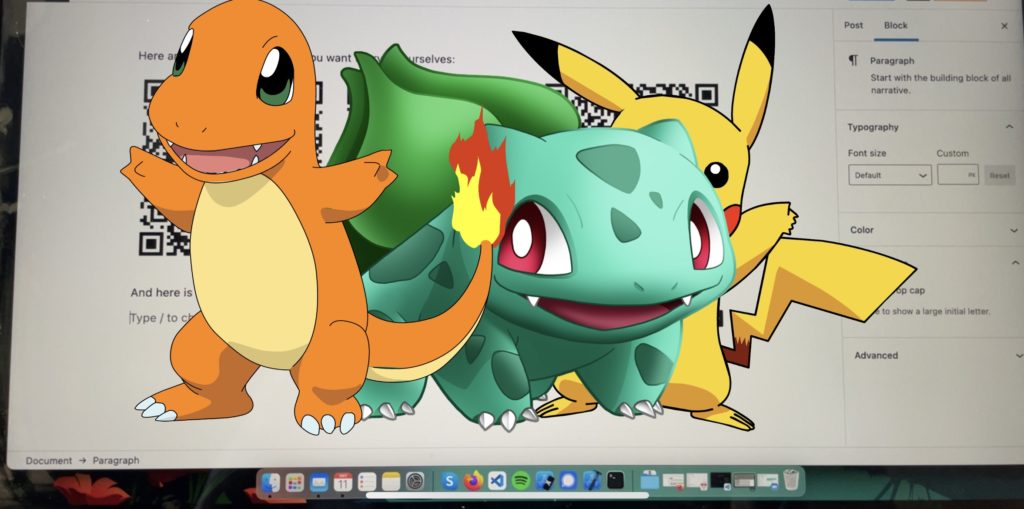
and sure enough, when I tested the app on my phone, I was quite satisfied with the result!

Scanning three QR codes at the same time and displaying the images on screen.
Coming from a much different background, as I mostly work with low level languages like C/C++, at first I though that this project would be quite a big challenge as I’ve never worked with javascript before. Though, it turns out that modern day frameworks make development very easy and quite fast. Being able to hack a working app like this in 2 days without any prior knowledge shows how far things have come.
You can find the complete code on GitHub and the app on Google’s Play Store (will update with the link once it’s approved).